 HOWTO: GAMING
HOWTO: GAMING
HOWTO: GAMING
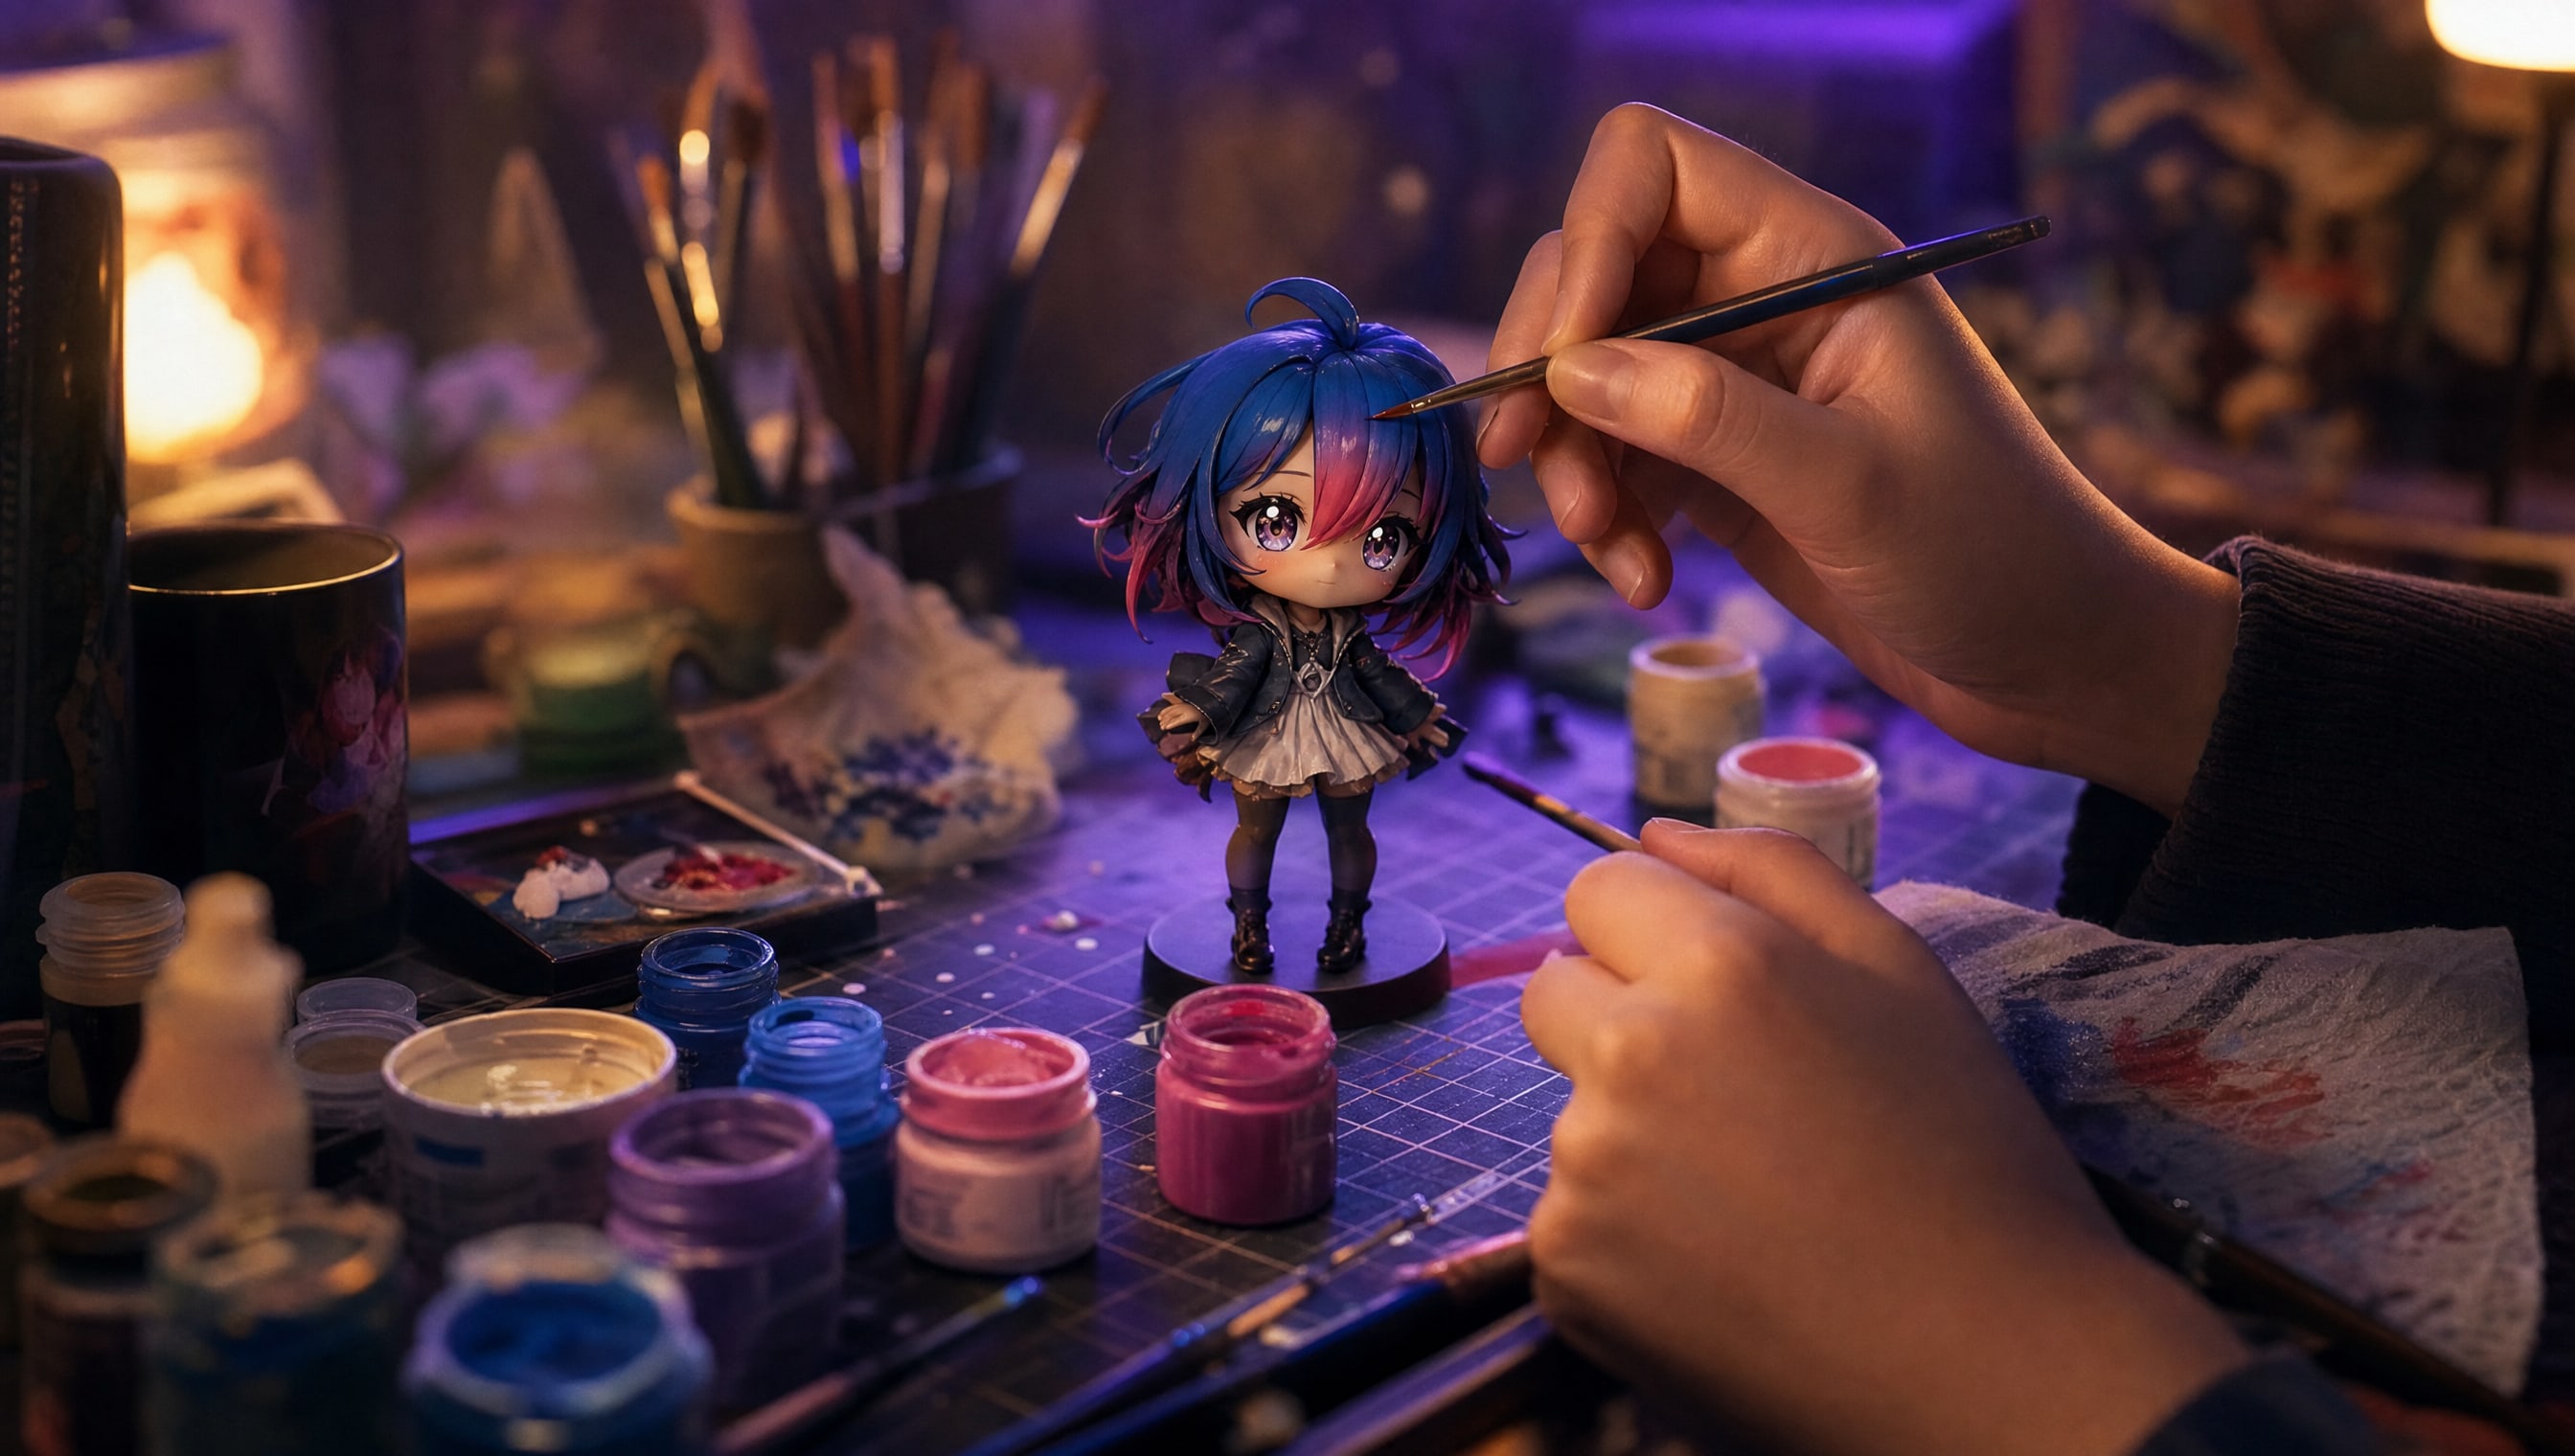
The figure you're scared to paint is usually the one that deserves paint the most — the thrifted one with the scuffed face, the prize figure with the flat sad hair, the little guy who's been waiting in a drawer for you to feel brave. I painted my first one at 1 a.m. with shaking hands, and I'm here to tell you the fear is mostly fixable with process. Almost nothing you'll do is permanent if you set it up right!
THE RITUAL, IN ONE BREATH
Before a single bristle touches your precious one, go get a sacrifice: a $3 thrift-store figure, a duplicate gacha prize, a busted trade-in bin rescue. Same material if you can manage it — most figures are PVC, so grab PVC.
Do the whole process on the sacrifice start to finish. Prime it, paint it, mess it up, fix it. You're not making art; you're making mistakes somewhere cheap. Every scary unknown — how primer sprays, how paint pools in creases, how long things really take to dry — gets un-scared here for three dollars.
Factory figures wear an invisible coat of mold-release agent, and paint will not forgive you for skipping this. Lukewarm water, a drop of dish soap, a soft toothbrush in the crevices, then a full air-dry on a towel — hours, not minutes. Don't rush it with a hair dryer on hot; PVC softens with heat and you can warp a ponytail before you've even started.
While it dries, plan. Take photos from every angle. Decide exactly what you're painting and — just as important — what you're leaving alone. "Just the hair and the eyes" is a great first project. "Everything" is how figures end up back in the drawer.
Primer is your safety net: paint grips primer far better than it grips bare PVC, which means fewer chips and cleaner fixes. Use a surface primer made for miniatures and apply two whisper-thin coats instead of one confident one. Thin coats keep the sculpt's detail — a heavy coat fills in the sweet little face lines you're trying to protect.
If you're brushing primer on, work fast and don't go back over half-dry areas. If you're spraying, 20-30cm away, light passes, and let each coat dry 30 minutes. The figure should look misted, not dipped.
☆ THE PRIMER CHECK
"The figure should look misted, not dipped."
☆ THE MILK TEST
"it should flow off the brush, not sit on it like frosting"
THE ONLY REAL ENEMY, NAMED
Three thin coats look factory-smooth; one thick coat looks like a craft fair accident.
Acrylics straight from the pot are usually too thick. Thin them with water or medium to roughly the consistency of milk — it should flow off the brush, not sit on it like frosting. Yes, that means two or three coats to get solid color. That's the point! Three thin coats look factory-smooth; one thick coat looks like a craft fair accident, and I say that with love because I have made that accident.
Work light to dark where you can, keep a scrap of paper for wiping the brush, and let each coat dry fully — 15-20 minutes for thin acrylic layers. Impatience is the only real enemy in this whole hobby.
Here's my rule: 45 minutes, then hands off. Fatigue is when hands wobble, when you decide at 1:40 a.m. that the eyes need "one more tiny highlight," when disasters happen. (The pink hair on my own head has witnessed things.)
Small sessions also give paint honest curing time between layers, which makes every later step — masking, detailing, sealing — safer. A figure painted over five short evenings almost always beats a figure painted in one heroic night.
☆ EVIDENCE ON RECORD
"(The pink hair on my own head has witnessed things.)"
This is the secret that kills the fear: unsealed acrylic over primer comes off. A wobbly line that's still wet lifts away with a damp cotton swab. A dried mistake softens with 91% isopropyl alcohol on a swab — roll it gently over the spot and the paint releases while the primer mostly stays. Worst case, you take that section back to primer and simply start again.
So the actual worst-case scenario for your beloved figure is: you lose some time. That's it. Nothing about this process, done in thin water-based layers over primer, destroys the figure underneath. Breathe!
When you love it, protect it. A matte or satin varnish — sprayed in the same thin, distant passes as your primer — locks the work against fingers, dust, and shelf life. Two light coats, 30 minutes apart. Gloss varnish first on eyes if you want that wet anime-eye shine, then matte everywhere else.
Then the hard part: leave it alone for 24-48 hours to fully cure before it goes back in anyone's hands or display case. Take the after photo next to your before photo. This is the glow-up moment and you have earned every pixel of it.
✿ WHAT I USED
Everything below has actually touched my figures. Links help fund the next one!
SOME LINKS EARN POPPY A LITTLE COMMISSION. THE PAINT FUND THANKS YOU.
Can I skip primer if I'm only doing a tiny detail?
You can, but the paint will sit fragile on bare PVC and can rub off with handling. For anything bigger than a dot fix, prime the area — it's ten extra minutes for a result that survives being owned.
How long does the whole thing take?
For a first figure doing hair and eyes: about a week of short sessions, most of which is drying time. Active brush time might be three hours total. The calendar time is the safety feature, not a flaw.
What if I genuinely hate the result?
Unsealed acrylic strips back with isopropyl alcohol, and even sealed work can be carefully stripped and redone. Between that and your sacrifice figure, there is no version of this where the figure is beyond saving — only versions where it's not done yet.
Now go get that little guy out of the drawer — they've waited long enough, and so have you!
— POPPY ✿ QUEST 02 COMPLETE